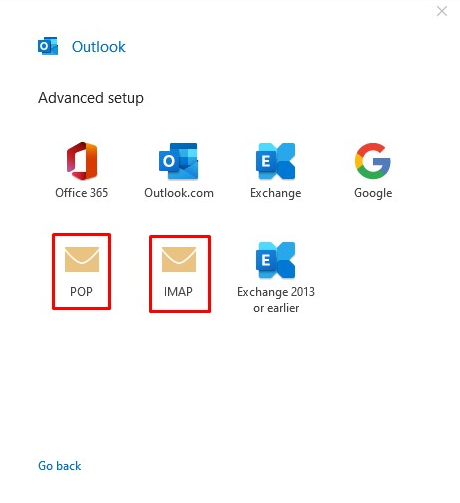
Incoming mail server: mail.yourdomainname
Incoming server port#: 110
Outgoing mail server (SMTP ): mail.yourdomainname
Outgoing server port# (SMTP): 25
SSL/TLS: None
Incoming mail server: mail.yourdomainname
Outgoing mail server (SMTP ): mail.yourdomainname
Incoming Port#:
Without SSL – 143
With SSL – 993
Outgoing Port#:
Without SSL – One of the following: 25, 26, 587
With SSL – 465
At Hosting you get best in class website hosting in India along with amazing features, offers and discounts.
THUNDERBIRD OUTLOOK CONFIGURATION SETTINGS FOR POP3
Step 1: Open the thunderbird application or any other email clients. The settings mostly looks same.
Click on Edit option, go to Account settings
Step 2: In the account settings, enter your Email address and password and click on the button “Done”
Step 3: After clicking on the option Done, Click on the option Manual configuration settings
Step 4: Follow the below Manual configuration settings
Incoming mail server: mail.yourdomainname.
Incoming server port#: 110
Outgoing mail server (SMTP ): mail.yourdomainname
Outgoing server port# (SMTP): 587
As you see in the below Image.
Step 5: After Configuration, Click on the Option Done, as you see in the above image.
Finally, you are done with POP3 Configuration in Thunderbird.
Get the cheap domain in India only at Nexgies Technologies. Also, when you buy our Hosting plans, you will be provided with free .in or .com domain name.
Related Email configuration:
Refer to the below links for email configuration in Outlook,